WELCOME TO
LEXINGTON HOUSE
We create stunning Photorealistic Exterior & Interior 3D Renderings for commercial and residential properties.
ABOUT LEXINGTON HOUSE
Lexington House is a full-service boutique real estate marketing agency based in Connecticut that specializes in architectural renderings. The company was founded by design and build professionals who wanted to create accurate and captivating 3D renderings that conveyed their pride and passion for design to clients. Lexington House uses leading software and hardware technologies to deliver high-quality renderings at competitive prices and with quick turnaround times. The company caters to architects, residential builders, interior designers, landscape architects, commercial developers, real estate professionals, homeowners, and dreamers. Lexington House has quickly expanded to serve clients throughout the United States.
Benefits of Using 3D Renderings
WHY LEXINGTON HOUSE?
If you're in need of architectural renderings for your project, you’ve come to the right place. We offer a simple and straightforward process, with quick turnaround times and timely revisions. Our pricing is competitive, and our customer service is top-notch. We pride ourselves on open communication and high-quality renderings that will help bring your project to life.With our team of skilled professionals, we can help bring your vision to fruition.
OUR PROCESS
The architecture of a building is a silent ambassador of its time and culture.
OUR CLIENTS
OUR SERVICES

Transform your architectural designs into visually stunning, photorealistic images with our residential exterior renderings.

Experience the elegance and functionality of your interior designs through our highly realistic and detailed residential interior renderings.

Bring your project's outdoor spaces to life with our breathtaking landscape renderings.

Our commercial exterior renderings are more than just a pretty picture. They provide a realistic, detailed representation of your project that can be used for a variety of purposes.

Design with confidence, visualize your space with our commercial interior renderings.

Our renderings allow potential buyers to fully visualize the space and understand the layout of a property, helping to drive interest and ultimately, lead to a successful sale.
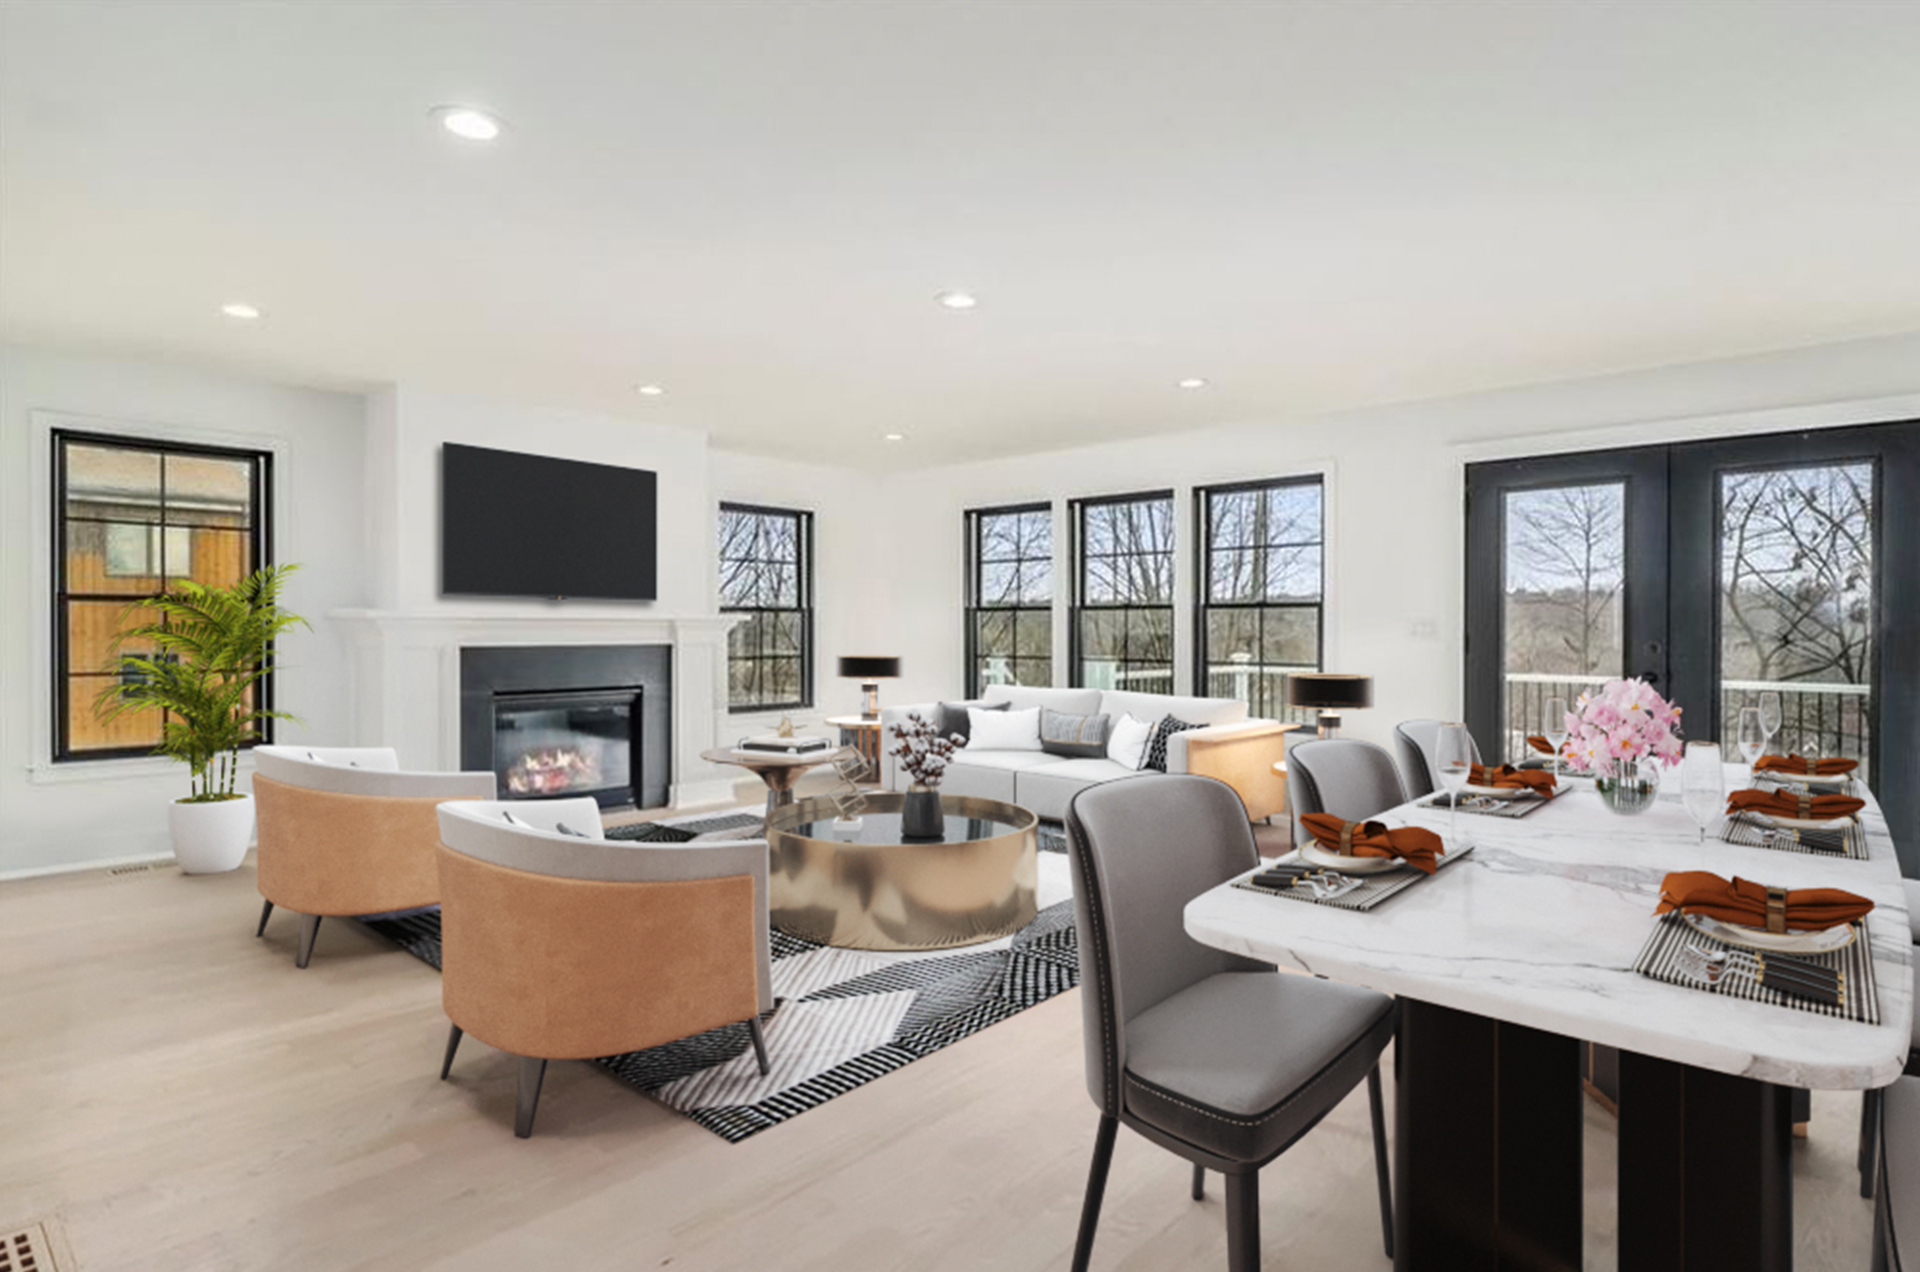
In today's competitive real estate market, having high-quality, virtually staged photos can make a significant difference in the success of a listing.
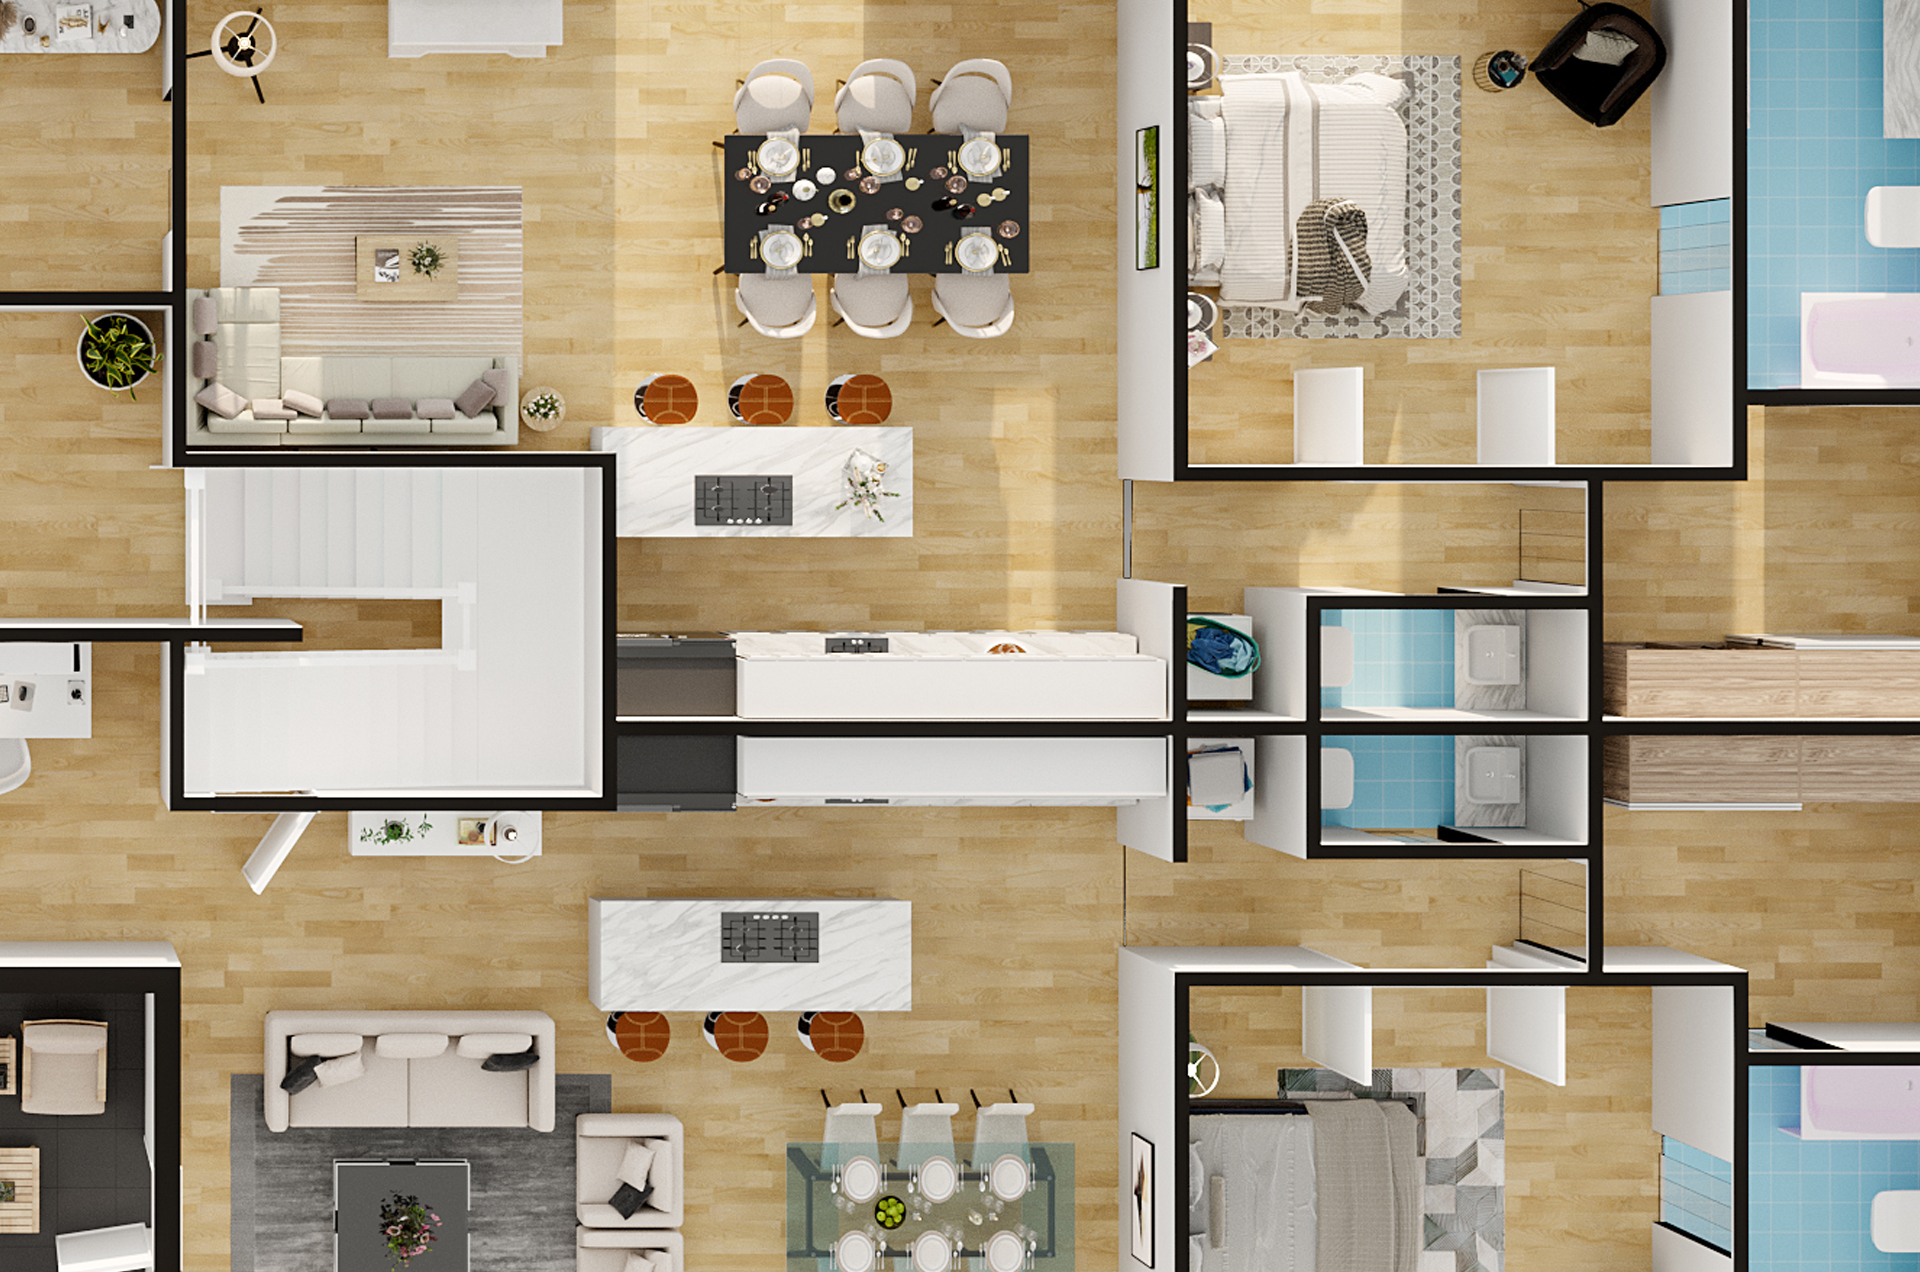
Experience your space in a whole new dimension with our 2D and 3D floor plans.
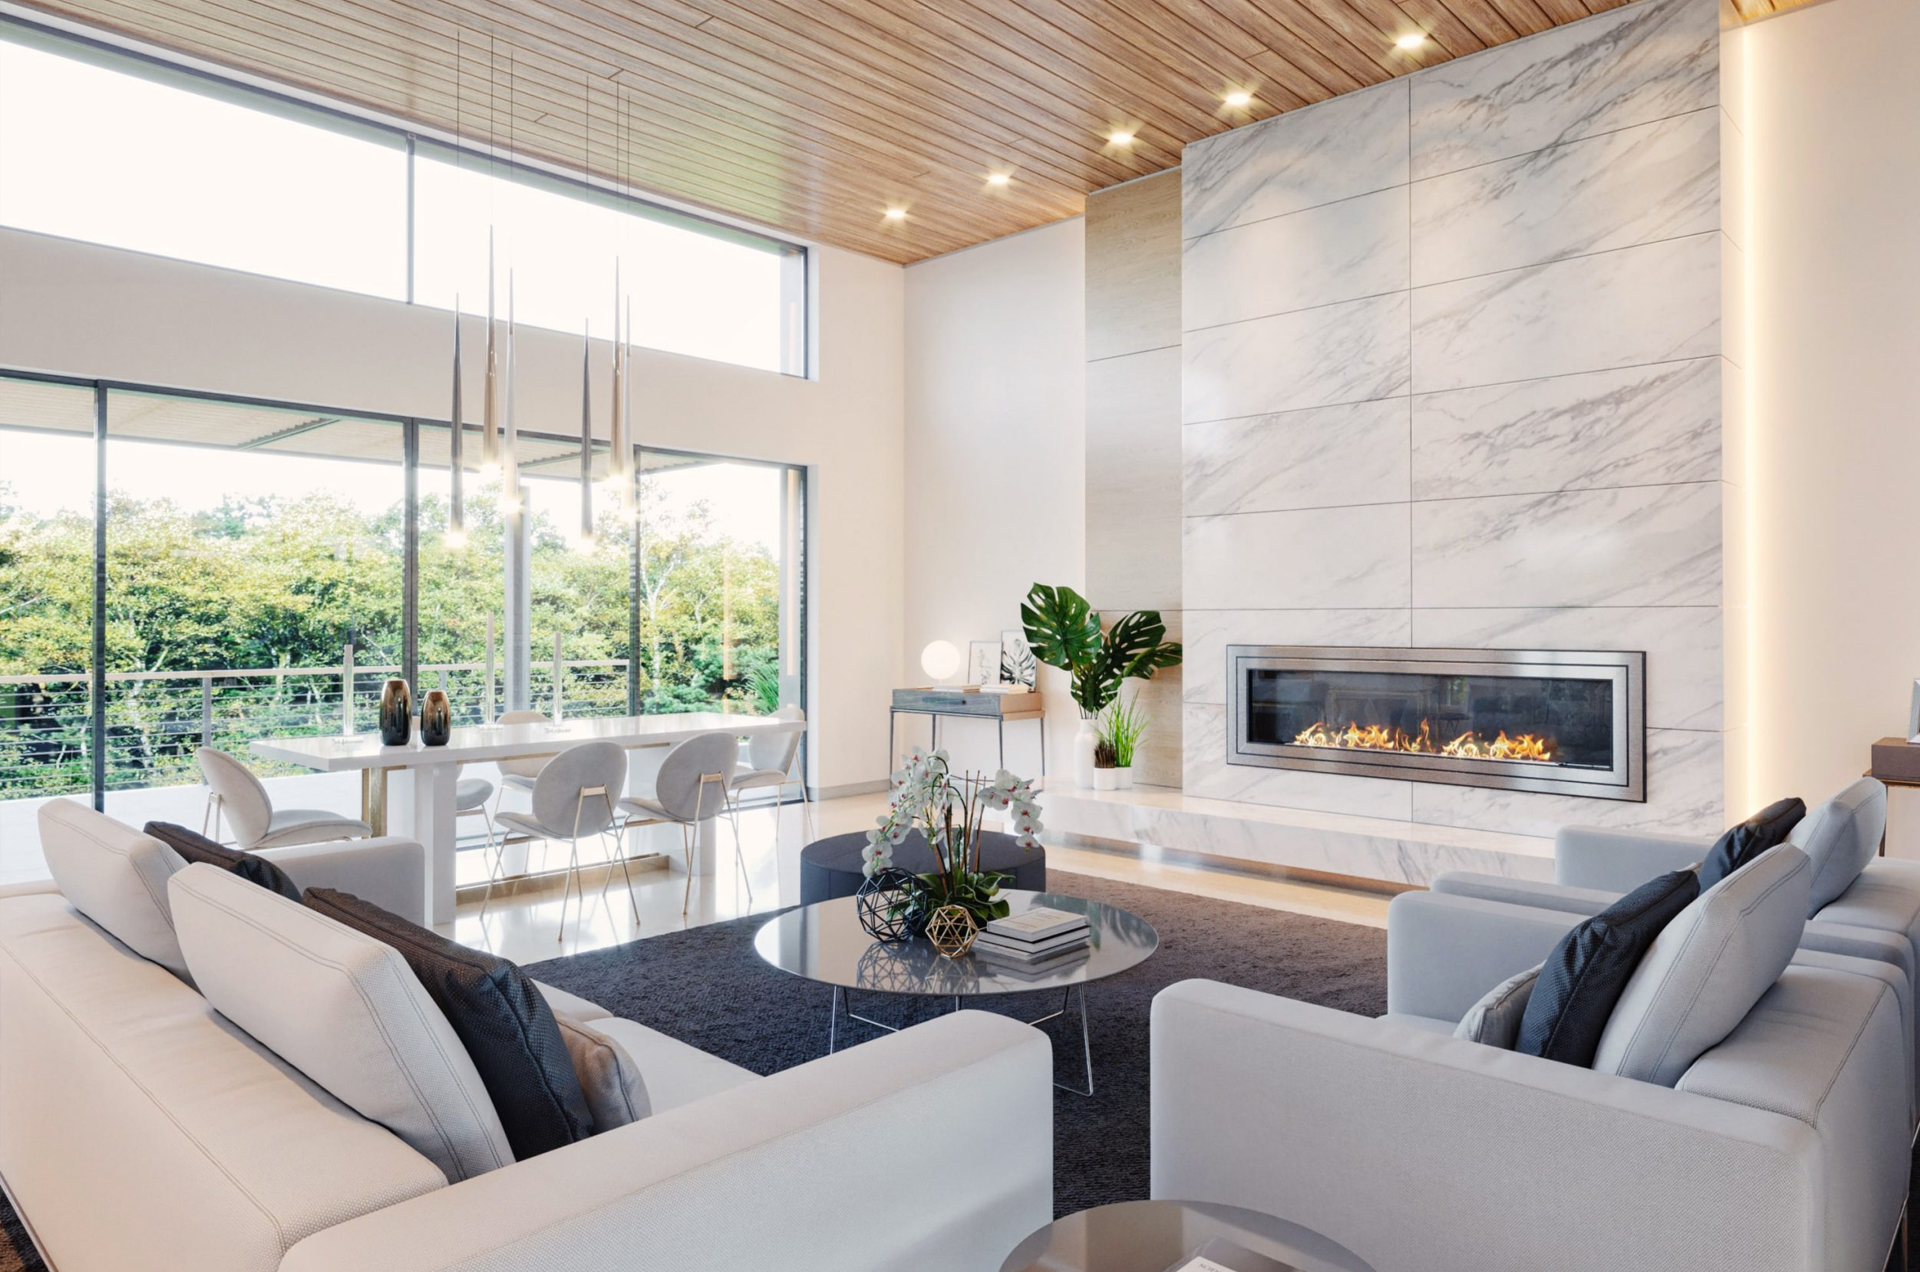
Coming Soon
GOOGLE REVIEWS


