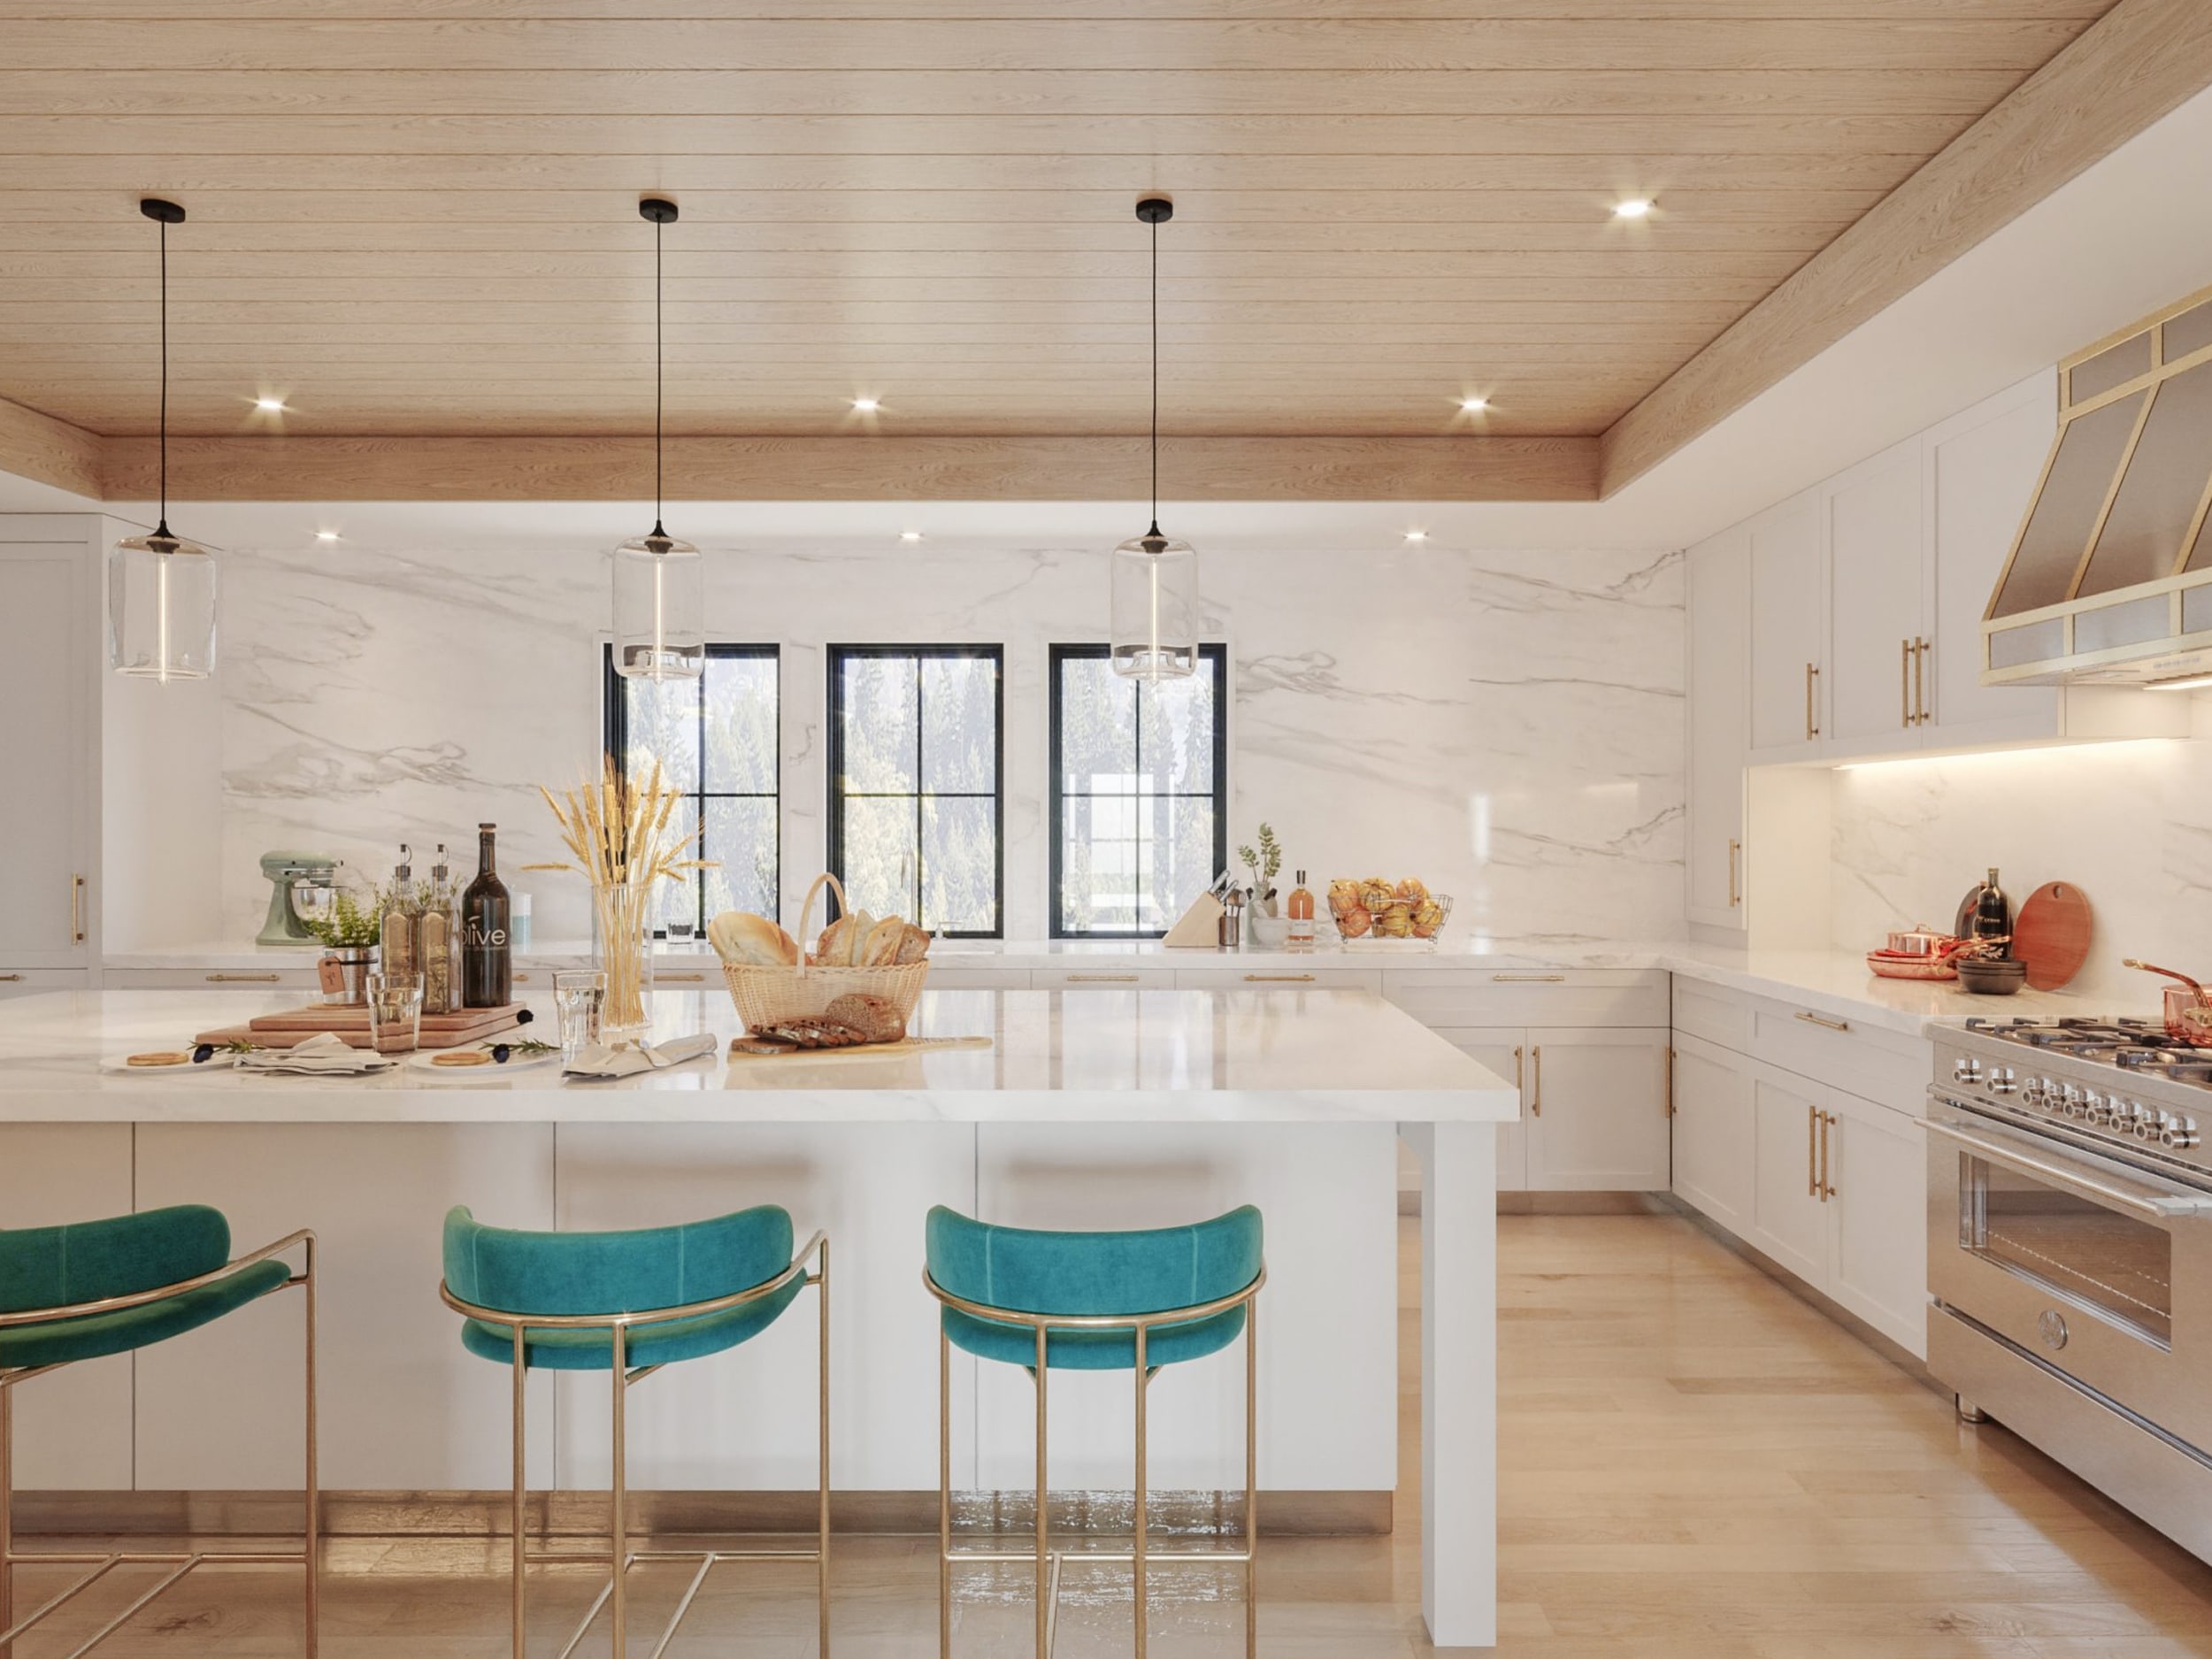
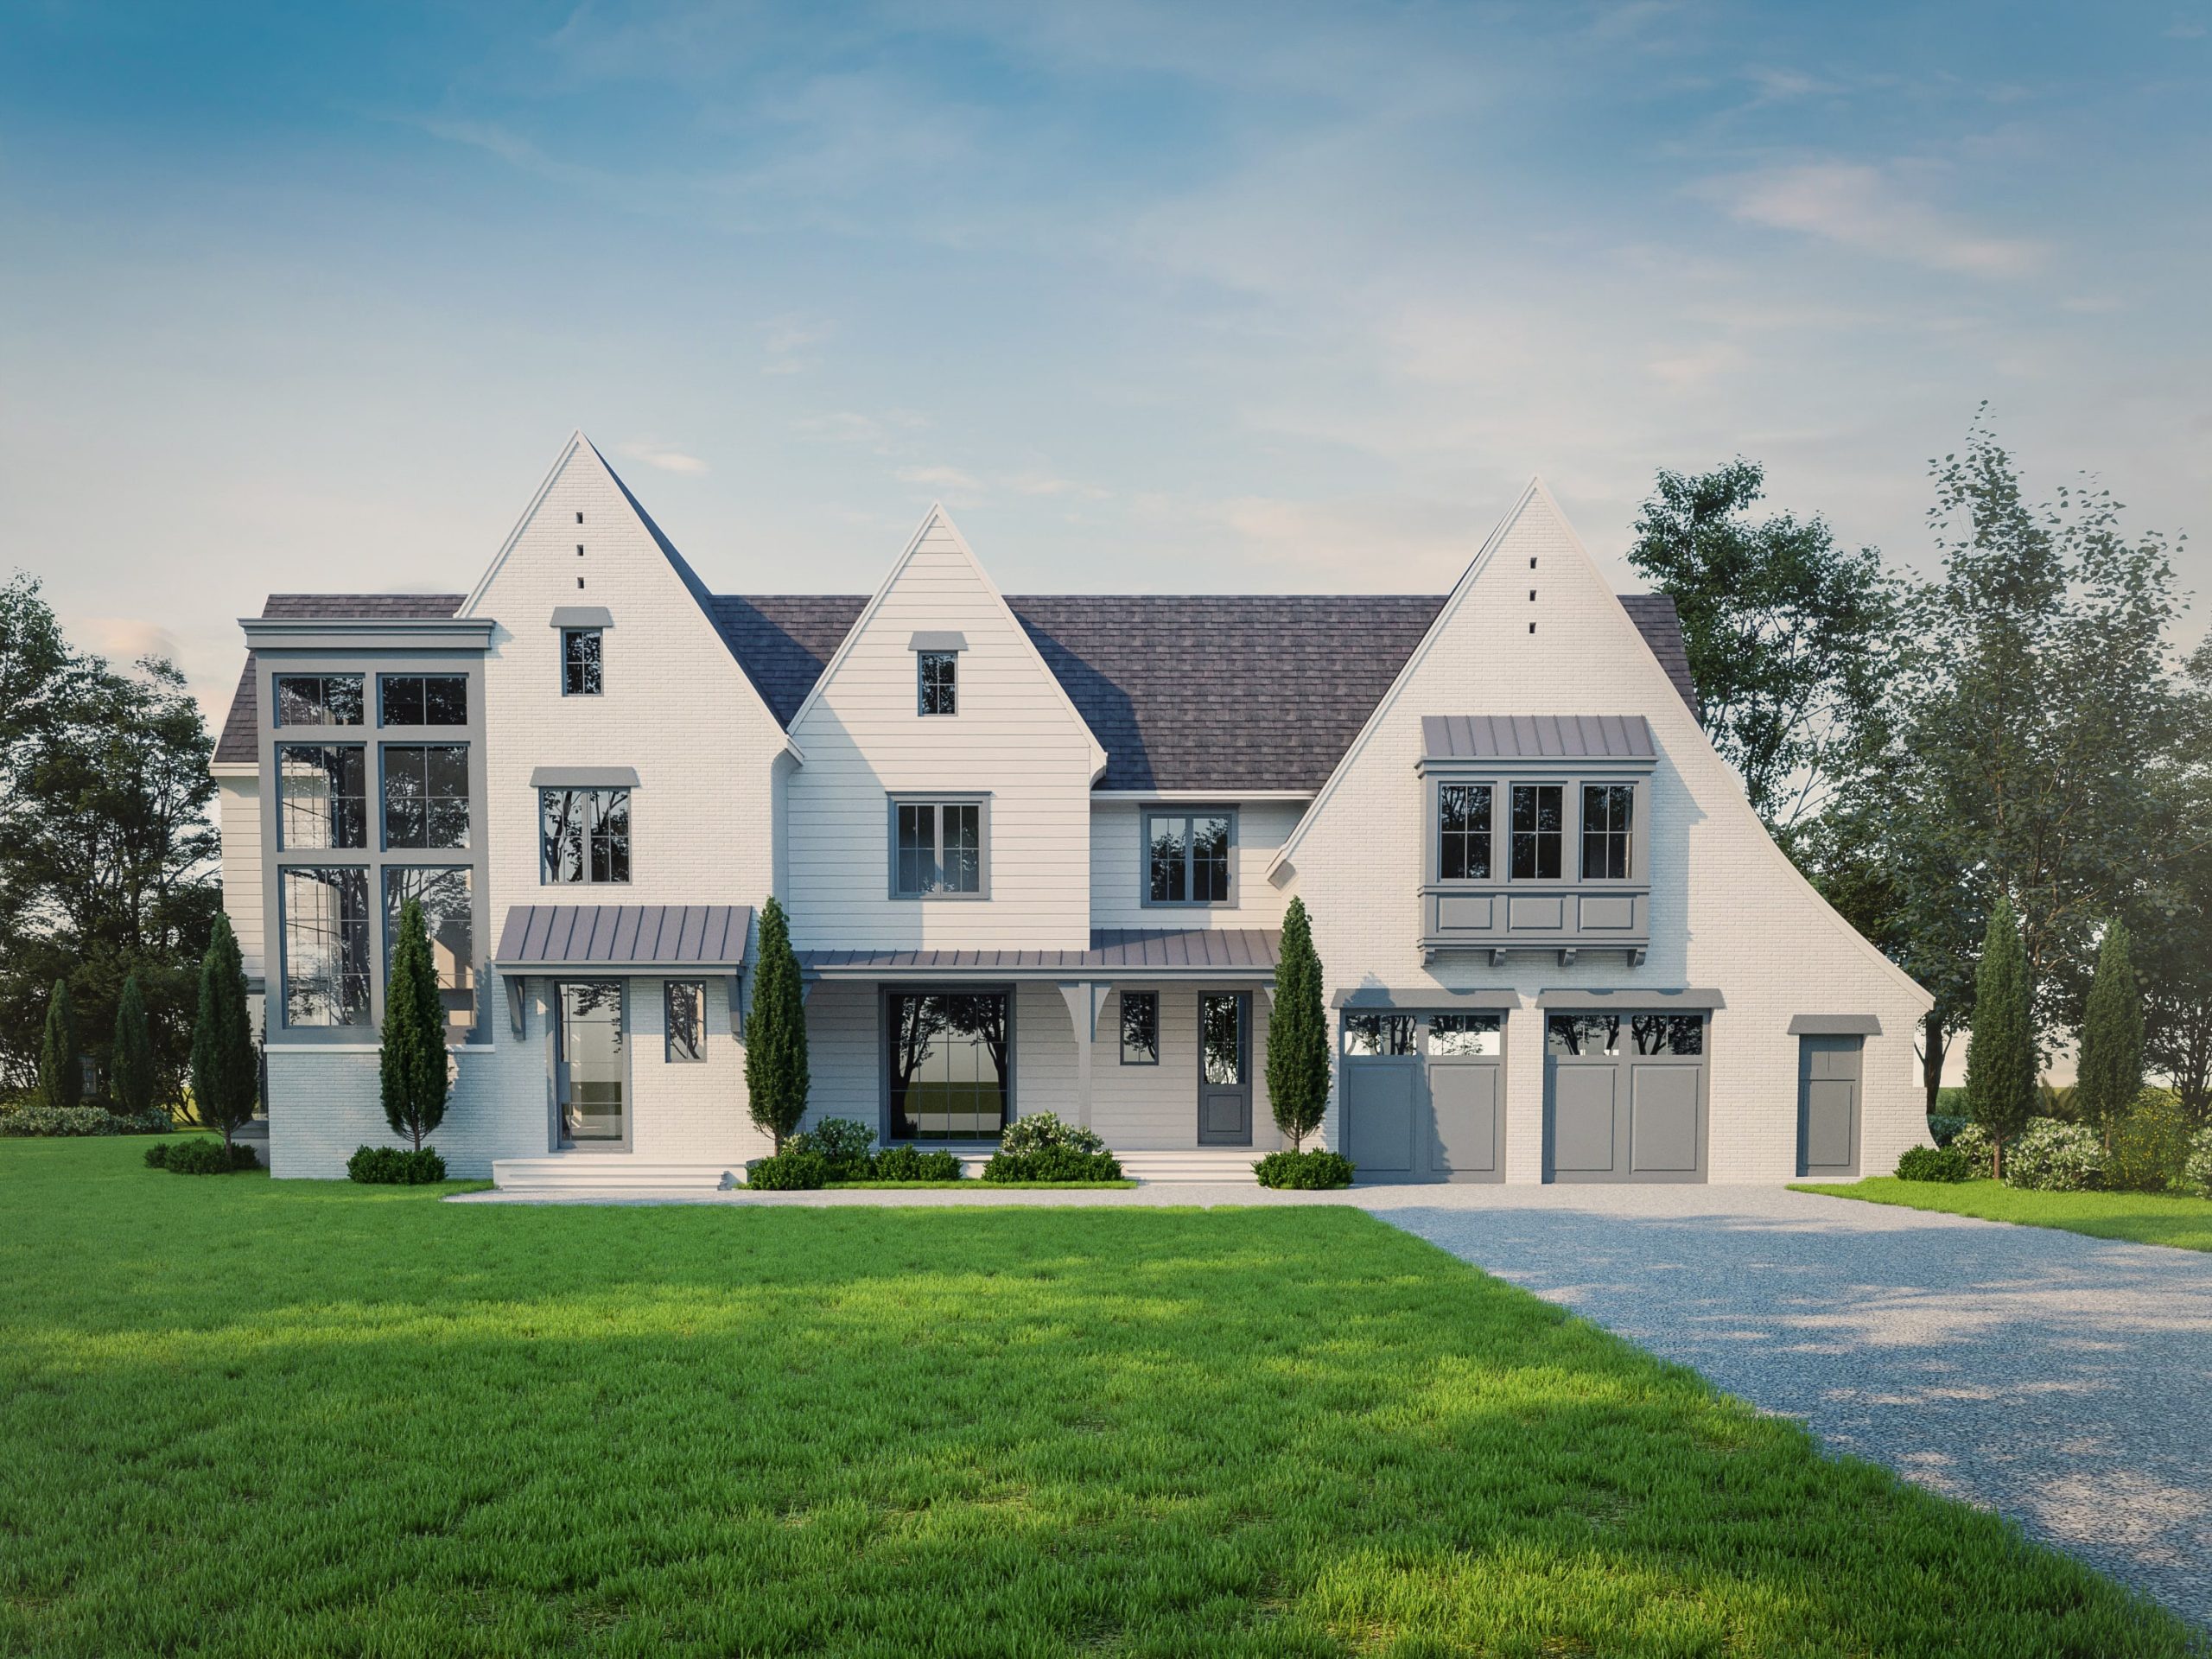
3D architectural renderings are a powerful tool for architects, developers, and builders to showcase their building projects. These computer-generated images provide a realistic representation of the finished product, making it easier for potential buyers or investors to envision the project. In this blog post, we will discuss the process of creating 3D architectural renderings, from the initial design stage to the final rendering.
Design Phase
Conceptual Design
The first step in creating a 3D architectural rendering is to develop a conceptual design for the project. This typically involves creating 2D floor plans and elevations, which can be used to communicate the layout and design of the project to potential buyers or investors.
3D Modeling
Once the conceptual design is complete, the next step is to create a 3D model of the project. This is typically done using 3D modeling software such as AutoCAD, SketchUp, or Rhino. The 3D model is used to communicate the project’s scale and layout, and can be used to create realistic renderings of the finished product.
Material and Lighting Selection
During the 3D modeling phase, materials and lighting are also selected. This step is important as it will affect the final look and feel of the rendering. The materials and lighting selected will determine the textures, colors, and overall mood of the image.
Rendering Phase
Camera Placement
Once the 3D model is complete, the next step is to place virtual cameras throughout the model. This is done to create different views or perspectives of the project. The camera placement will determine the final composition of the rendering.
Lighting and Texturing
Lighting and texturing are applied to the 3D model to create a realistic representation of the finished product. The lighting and texturing will affect the overall mood and feel of the rendering.
Rendering
Once the camera placement, lighting, and texturing are complete, the final step is to render the image. This is done using rendering software such as V-Ray, Mental Ray, or Octane. The rendering process creates a high-resolution image of the project, which can be used to showcase the finished product to potential buyers or investors.
Post-Production Phase
Image Editing
Once the rendering is complete, it may require some post-production editing. This can include adjusting the lighting, colors, and composition of the image. This step can be done using software such as Photoshop or Lightroom.
Animation
Some renderings may require animation, such as a walk-through of the project or a fly-over. Animation can be added using software such as 3ds Max or Maya.
Final Output
After all the post-production and animation is complete, the final image is output in a high-resolution format, ready to be used in marketing materials or presentations.
Creating 3D architectural renderings is a multi-step process that involves the design, modeling, rendering, and post-production phases. The process starts with the conceptual design of the project, which is then turned into a 3D model. Lighting, texturing, and camera placement are all carefully considered to create a realistic and high-quality image of the finished product. The final image can then be used to showcase the project to potential buyers or investors, helping them to envision the finished product and make an informed decision.


